Building a simple website with WordPress
Here is an article on how to build a simple WordPress website. There are many ways to build a WordPress website. You can find various instructions on many different sites and on YouTube, for example. This is just one way and is intended to give some direction on how it is possible to build a website. Here is a link to the website that is being built in this example: www.example.topsitego.com
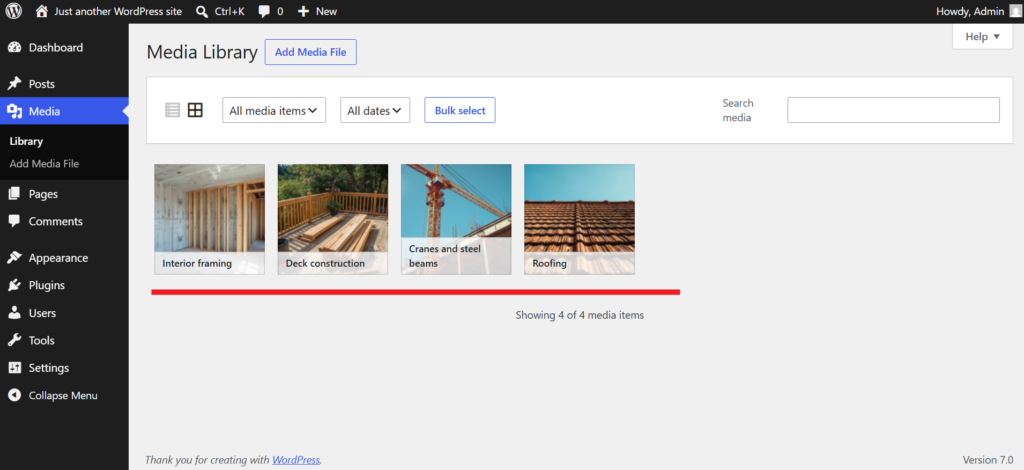
Media Library
From the “Media” section you can upload the images you need to build your site.
Adding a new page
On the left side of the WordPress dashboard, click on “Appearance” and then “Editor” then the view should look like this and there select “Pages”.
Then click “Add page” and then give the page a name.
Edit page
Once you have added a page, the editor will ask you to choose a pattern. In this example, we will select the section that says “Coming soon”.
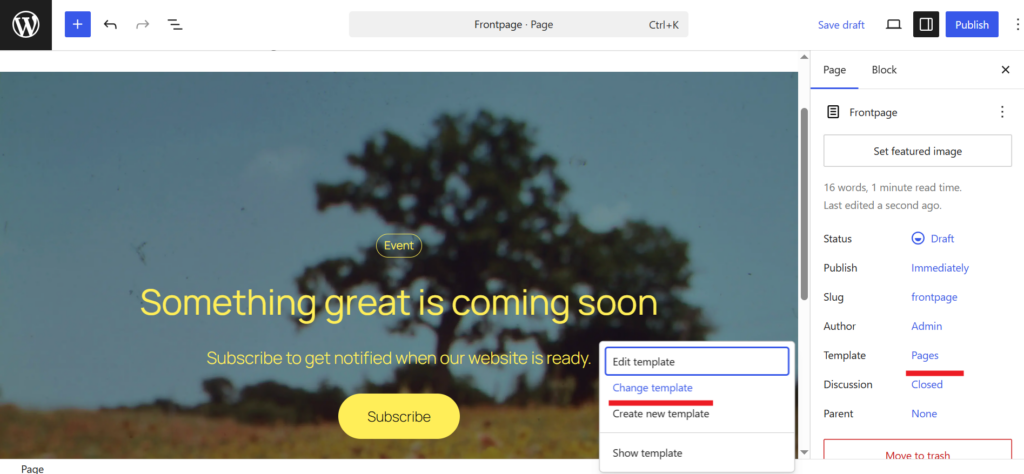
Then click on “Template: Pages” on the right side and then “Change Template”.
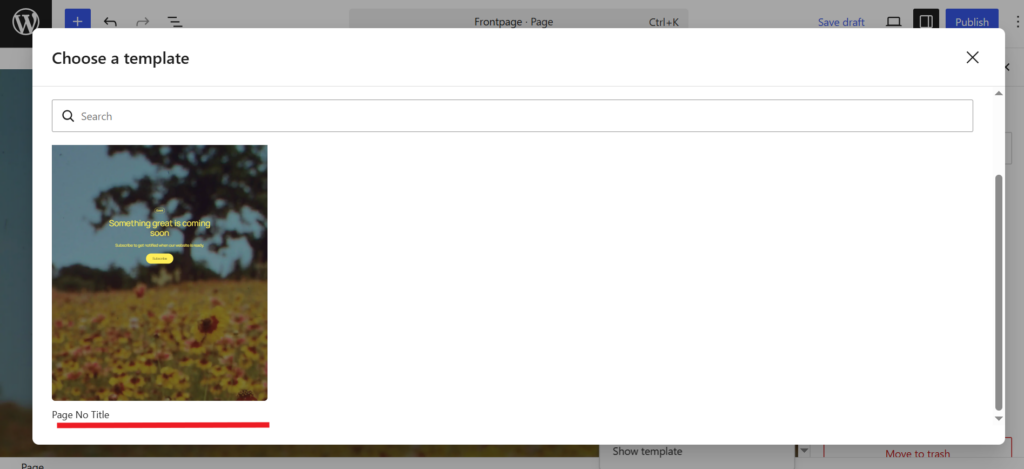
Then select the option “Page No Title” and then the page name will not appear as a title at the bottom after the top menu. This is only for this example. If you want the page title to be visible, you can leave this unchecked.
When you click on the image, an editor will appear at the top that says “Edit Pattern” and click on it.
Then in this example, the items “Edit” and the button that says “Subscribe” are deleted. Just click on those items and an editor will open at the top with three dots on the right side and from there select the item “Delete”
You can also edit the texts that are on top of the image.
Then if you click on the top of the image and the circle icon on the right edge you can change the style of the cover image, for example by increasing the opacity of the color on top of the image. In this example, Overlay Opacity is set to: 50.
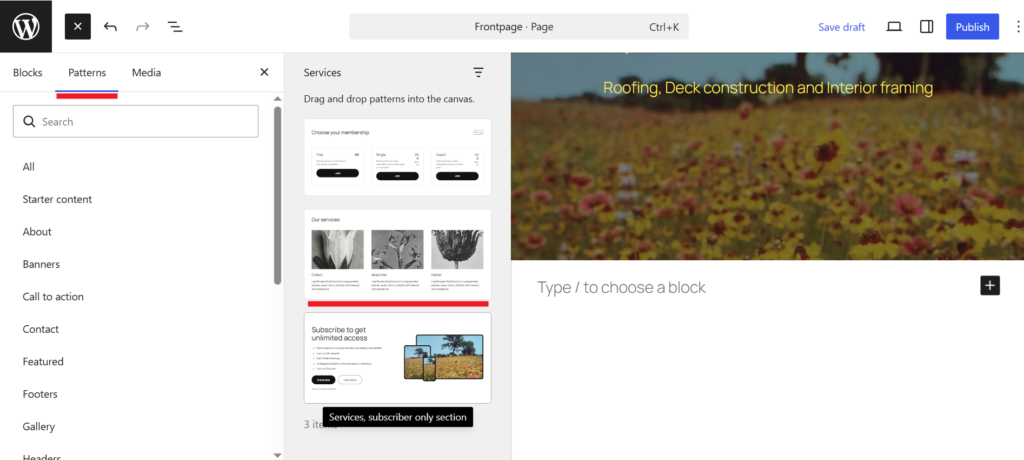
Then when you click on the empty white space under the cover image, a new section will appear that says “Type / to Choose a Block” and then when you click on the blue plus icon in the upper left corner, you can select Pattern.
In this example, we select Cervices from the Patterns list and then the section with three images and text fields next to each other.
Once the new section has been added, you can click “Edit pattern” again.
When you click on the image and then “Replace”, you can change the image.
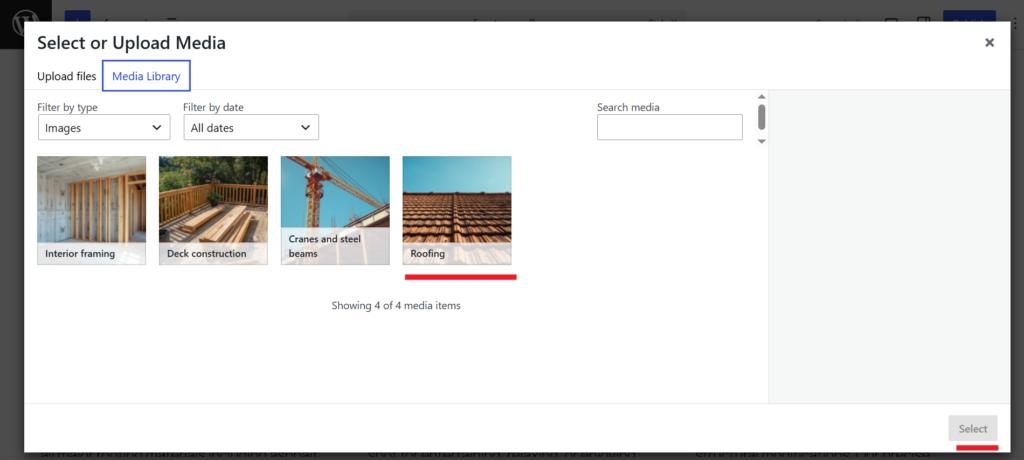
When you click on the image and then “Replace”, it will go to the Media Library, where you can select a new image.
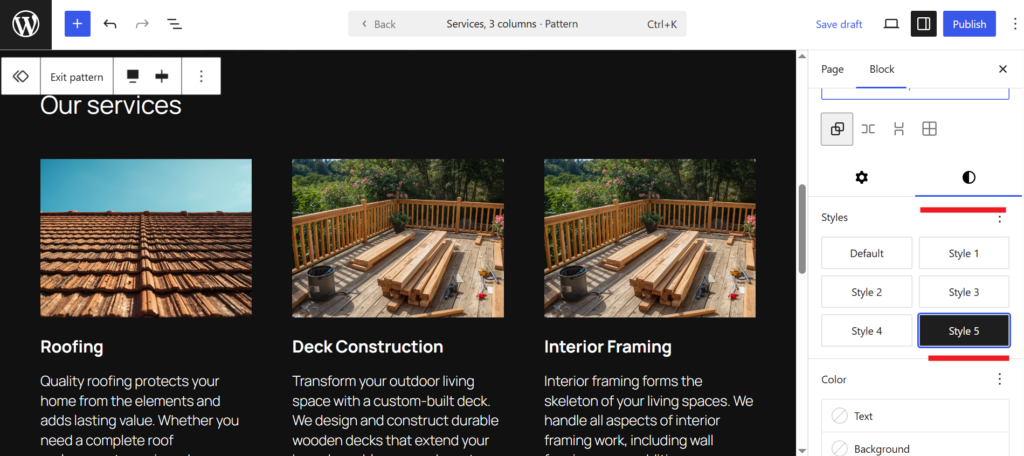
Then from the circle icon on the right side you can choose a style, in this example we will choose the “Style 5” section with a black background.
Then again when you click on the empty white space under, a new section will appear that says “Type / to Choose a Block” and then when you click on the blue plus icon in the upper left corner, you can select Pattern.
In this example, we will select “Contact” under “Patterns” and then the section with the yellow background.
Then you can delete the sections you don’t need and if you click on the title, for example, you can select “Add After” and a new element will appear below the title.
Then you can replace the image by clicking on the top of the image and selecting “Replace”
Remember to press the “Publish” button in the upper right corner to save your changes.
Choosing a Frontpage
In this example, the page is now ready and then you can go back to the WordPress dashboard and on the left sidebar click on “Settings” and then “Reading”. And there under “a static page” you can choose which page is the “Homepage”.
You can save at the bottom under “Save changes”
Edit header